Building a One-time Password Token
One-time passwords are an alternative to the more common "permanent" passwords. The problem with a "normal" password is that it can be captured during communication, by fake login screens or by key-loggers. Once a normal password is captured, it can be used until it is changed.
To avoid this "repetition attack", one-time passwords work just once. For each login, a new password is used. This creates a new problem: how to set up these passwords? One solution is to have a "password book", but that is very clumsy.
In this post, we will see how to build a device that generates one-time passwords, one at a time. The other side can use the same algorithm to check the passwords. We will use a Raspberry Pi Pico W board with a MicroPython application.

WARNING: This is a demo only. The encrypting key will be in plain text in the code, open to any curious eyes. Do not use this with any real key!
A Little Theory
What we will use is an HMAC-based one-time password (HOTP). Both sides keep a counter and know a secret key. The counter is processed by a cryptographic hash (HMAC); the password is extracted from the resulting hash. The algorithm used is described in RFC 4226, and is the same employed by many sites (like Github) and applications (like Google Authenticator).
The counter is created from the current UTC time. To account for clock variations and user response times, the counter is incremented every 30 seconds. Furthermore, the side checking the password can accept the previous and next passwords. To account for long-time drift (in cases where the device clock is set only at manufacturing), the checking side can record the differences and take them into account in the next checks. The code uses the Unix Epoch (number of seconds from 1/1/1970 00:00:00 UTC).
HMACs are normally used to check a text integrity. They generate a value (the hash) from a text and a key. RFC 4226 mandates the use of HMAC-SHA1, resulting in a 160-bit (20 bytes) hash. The input text is the counter, encoded as 8 bytes with the more significant byte first (big-endian).
To extract the password from the 20-byte hash, we will:
- Get an offset (0 to 15) from the 4 least significant bits in the last byte
- Obtain a 32-bit number from the 4 bytes starting at the offset (more significant byte first, ignoring the signal bit)
- Extract the 6 least significant digits from the decimal representation of this 32-bit number

Implementation
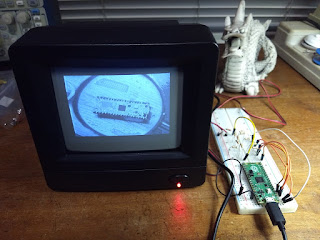
 |
| Check the pinout for your display, mine was different! |
To obtain the counter, we will:
- Connect to a WiFi network
- Get the current time using the NTP protocol
- Divide the current time by 30
- Convert the result into a bytearray


Comments
Post a Comment