Posts

Generating VGA Color Video - The "Official" Solution

Image
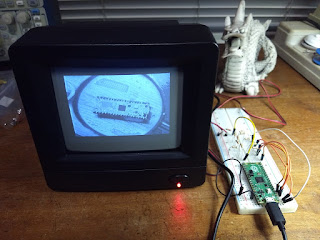
Continuing my experiences with video generation, let's take a look what we got in the official documentation and repositories (notice that the software is marked as "worked in progress"). It works!

I'm Writing a Book, And You Can Start Reading It Now!

Image
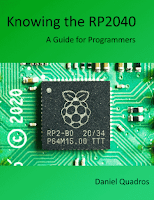
" Knowing the RP2040 " is a book where I try to explain the RP2040 features in a logical and clear way ,so you can get a better knowing of what it is capable of and how to use it.

Using the PIO to Interface with the DHT11 and DHT22 sensors

Image
The DHT11 and DHT22 are popular sensors for measuring temperature and humidity. While connecting these sensors to a microcontroller is very simple, communicating with them demands generating and measuring times of the order of microseconds. Let's see how the RP2040's PIO can help us.

Generating Composite Video

Image
One (of many) obvious differences between the Rapsberry Pi Pico and the other Raspberry Pi models is the lack of video output (remember, the Pi Pico is a microcontroller board and the others are single board computers).  Not a big problem! With a few resistors and some ingenious software we can generate video with the Pi Pico. My main interest in this is to build a serial terminal for my retro microprocessor boards (you can see my current effort at  https://github.com/dquadros/RPTerm ). This experiment was done in April 21, based on an article by Dean Belfield . Since then he has improved his hardware and code in many ways, including adding color. Meanwhile I moved on to VGA video .

A Closer Look at Digital Input in the RP2040

Image
Last post we look at digital output in the RP2040 microprocessor (used in the Raspberry Pi Pico). Now let's take a closer look at digital input. The object of digital input is, of course, to check if a pin has a high or low voltage level applied. Looking again at the logical structure of an RP2040 pin, we will notice that the input signal, coming from the I/O pad can be directed to a peripheral (one of them is the GPIO that does digital input) and to the interrupt logic (IRQ). It can also be inverted before going to GPIO or IRQ. source: RP2040 datasheet

A Closer Look at Digital Output in the RP2040

Image
Digital output seems pretty simple, specially if you are using the Arduino runtime. A call to digitalWrite() will put a pin in high or low level. Is that all? No... in this post we will look at some important details about digital output in the RP2040 (the microcontroller used in the Pi Pico). A four digit 7 segment display connected to the Pi Pico

Project: Making a Timer with the Raspberry Pi Pico

Image
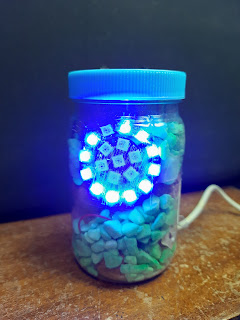
 Here is a simple and fun project: a countdown timer using an RGB LED rings and a Pi Pico. The assembled timer (this was first posted in my  Portuguese blog  in July 20, 2021)